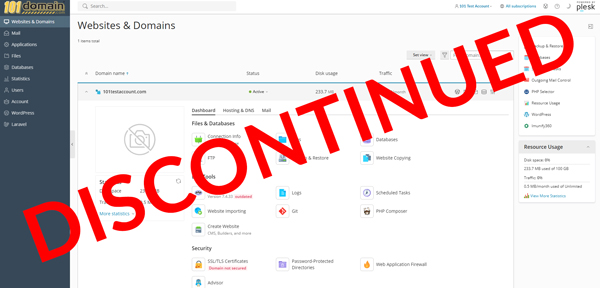
Web and Cloud Hosting Ending October 31, 2024
What’s Happening with Your Hosting Service?
We have made the decision to sunset our Web and Cloud Hosting services, effective October 31, 2024. After this date, all Web and Cloud Hosting services will no longer be operational.
You have until the end of October 2024 to transition to an alternative service. Our Hosting team is available to offer expert guidance and recommendations to assist you in finding a new hosting provider and supporting you during this change. If you have remaining time on your current service, we will issue a prorated credit to your account for future use.

While we are unable to continue offering Web and Cloud Hosting services, we do have Dedicated Servers options. Feel free to contact a member of our team to explore whether this service may be right for you.
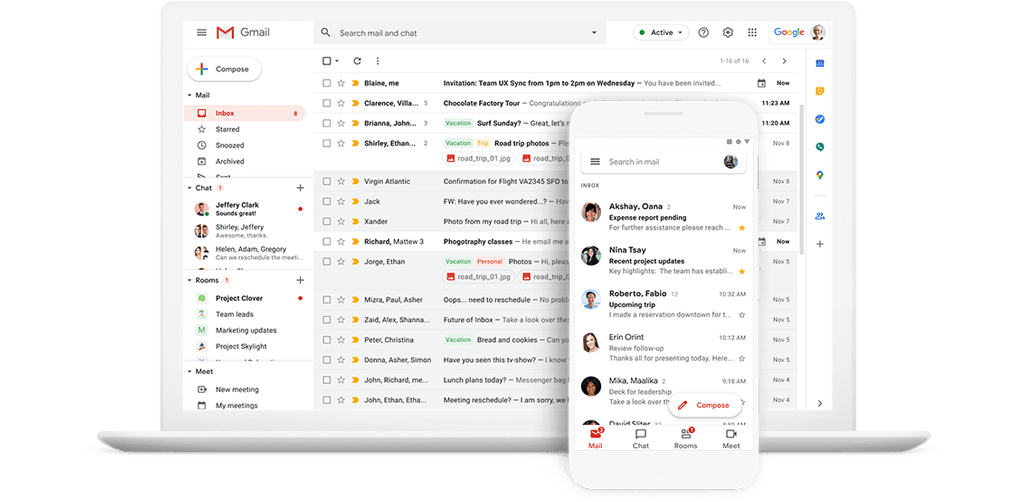
If you want to keep using email with Join.Law, we have prepared a special discount to help you migrate to Google Workspace for 50% OFF.
Use the code GOOGLE50 at checkout
This offer is only available for annual Google Workspace plans.

Get a custom business email address along with your go-to apps like Gmail, Meet, Docs, Calendar, Drive, and more.

Get 50% off when you use the code GOOGLE50 at checkout!
Discount is only available for annual Google Workspace plans
We’ll help you move!
FREE MIGRATION
We are offering our migration services for free to annual Google Workspace subscriptions with 3 or more users.
PAID MIGRATION
We offer a paid migration service ($65 fee) for monthly or annual Google Workspace subscriptions with less than 3 users.
SELF MIGRATION
You can migrate your emails to Google Workspace for free using the resources and tools provided by Google.
To migrate your Web/Cloud Hosting and email services to a different provider, please refer to our comprehensive guides for backing up your data. Additionally, we have curated a list of recommended providers for your consideration below.
1. Backup your email data using Imapsync
Requires sharing your password with a third-party service
- Reset the passwords for your existing mailboxes to a new temporary password. Copy and paste the login info into a notepad. You will want to use temporary passwords for this migration since you are sharing your password with a third-party app. Once you are done with your migration, change and reset your passwords. For help resetting your passwords, view our guide.
- Navigate to Imapsync at https://imapsync.lamiral.info/X/
- Enter the IMAP source mailbox info:
- Enter the source email address
- Enter the source email password
- Enter the server name. For help finding this, view our guide.
- Enter the IMAP destination
- Enter the email of the destination box
- Enter the password of the destination box
- Enter the server name of your email provider
- Verify everything is entered correctly, and click Sync or resync!
- Please note: if you need to abort, click Abort!
- You can now change your DNS records to your hosting server. For help adding DNS records for your new hosting service view our guide.
- Please note: DNS propagation takes 24 -48 hours so there may be some downtime. You can run the migration tool one more time after 24 hours just to catch any mail that was sent to the old mailbox during that time.
2. Backup your email data using Outlook
STEP 1: Connect your existing mailboxes to Outlook: (if you are already using Outlook skip to step 2)
STEP 2: Back up (export) your mail using Outlook:
- Open Outlook and click File
- Click Open & Export
- Click Import/Export
- In the Import & Export Wizard, select Export to a file, and click Next
- Select Outlook Data File (.pst), and click Next
- Select the folder to export from (i.e. Inbox). Make sure Include subfolders is checked, and click Next
- Click Finish
- Choose your options. For this guide, we have chosen Do not export duplicate items, and click Finish
- Add optional password, and click OK
- Your backup is now located in documents\Outlook Files\backup.pst
STEP 3: Connect your new mailboxes in the web hosting panel to Outlook:
STEP 4: Import your mail back up:
- Open Outlook and click File
- Click Open & Export
- Click Import/Export
- In the Import & Export Wizard, select Import from another program or file, and click Next
- Select Outlook Data File (.pst), and click Next
- Select the folder to import: located in documents\Outlook Files\backup.pst
- Select Do not import duplicates or any option you prefer, and click Next
- Enter the optional password you created, and click OK, and click Next
- Select the folder to import from, and select the folder to import into, and select Finish
- You have now completed your import.
3. Backup your email data in cPanel
- Log in to your cPanel subscription
- Click on File Manager under the Files section
- Right-click on the Mail file, then select Compress
- Next, choose the Compression Type you wish to use depending on your new provider’s preference and click the Compress Files button.
- Once completed, you can right-click and select Download on the archived mail to download it locally to your computer
1. Backup your hosting data using FTP
2. Backup your hosting data using Google Drive
3. Backup your hosting data using Amazon S3
Configuration
- Create an Amazon Web Services account if you do not already have one
- Click the Backup & Restore option on the right-hand side of the hosting panel
- Select Remote Storage Settings
- Select Amazon S3 Backup
- The configuration screen requires specific information from your AWS account:
- Keep the “I will use the root account credentials (will not be stored)” default option selected
- Log in to your AWS account and go to Account, then Security Credentials, and copy the Access key ID and the Secret access key of the AWS account root user. You will need to create one if you do not already have one
- Go back to your Plesk panel and paste the ID and secret into the IAM User Access Key ID and IAM User Access Key Secret fields respectively
- Provide the name of the S3 bucket where your backups will be stored. You can use an existing bucket in your AWS account. You can also have the extension automatically generate one for you (if you do, AWS does not recommend changing the bucket’s name)
- To store backups in a specific folder inside the bucket, type the folder’s name into the Path field. To store backups in the bucket’s root, type “/” into the Path field
- Click OK to save the configuration
Backup
- Now that your backup method is configured, you can proceed with backing up your subscription. Select the Backup Manager
- Select Back Up
- At a minimum, you will need to select the Type of backup (either Full or Incremental). The are other options that can be customized if desired.
- Hit OK to start the backup process
- Once a backup has run, you can check the status and download the files from the Backup Manager. You should also see an accompanying .tar file created in your S3 bucket.
4. Backup your hosting data using Microsoft OneDrive
Configuration
- Create a Microsoft OneDrive account if you do not already have one
- Click the Backup & Restore option on the right-hand side of the hosting panel
- Select Remote Storage Settings
- Select Microsoft OneDrive Backup
- Once selected, you will be taken to a Microsoft sign-in screen. After entering your credentials, you will be asked to grant permission to the OneDrive application (click Yes to continue)
- You will also be prompted to confirm the data transfer between Plesk and OneDrive (click the link provided to continue):
- You will be taken to a final confirmation screen, where you can rename the backup directory in OneDrive if needed, otherwise, you can leave the defaults and select OK to complete the setup process
Backup
- Now that your backup method is configured, you can proceed with backing up your subscription. Select the Backup Manager
- Select Back Up
- At a minimum, you will need to select the Type of backup (either Full or Incremental). The are other options that can be customized if desired.
- Hit OK to start the backup process
- Once a backup has run, you can check the status and download the files from the Backup Manager. You should also see an accompanying .tar file created in your OneDrive account under the path that was specified during configuration.
5. Backup your hosting data in cPanel
- Log in to your cPanel subscription
- Click on Backup under the Files section
- Click on Download a Full Account Backup
- Select the backup destination from the drop-down menu under the Generate a Full Backup section. We recommend using the Home Directoryoption for ease.
- Enter the email address you wish to be notified at when the backup is completed. Click Generate Backup to start the backup process.
- Once the backup is completed, you will now have a backup available for download.
- Alternatively, you can download the backup from your File Manager under the Files section by right-clicking on the backup and selecting the Download option.
Our hosting provider recommendations


Get guidance from Join.Law experts
Please do not hesitate to reach out if you have any questions or require assistance. We are available Monday – Friday, 5am – 7pm PT (San Diego).
Open a support ticket, give us a call at 877.983.6624 (United States) and +1.760.444.8674 (International) or LiveChat with our team (available in most countries).
